Tools you'll need:
Paperclay (from Amazon)
Gesso
Cardboard
Scissors
Sculpting tools
Acrylic paint
Slowblend medium (optiona but nice to have)
Paintbrushes (nice tiny ones for painting little details and a mid sized one for the paperclay)
Polyurethane varnish, satin (optional)
Hanging tools (eye screws, u shaped nails curved wire etc).
Ribbon, yarn, string or fishing twine to hang it with
Glue
water
Step 1.
Gesso a piece of cardboard, let it dry, then pencil out the shape you want. Cut it out. Take your paperclay and roll a long strip out to fit the piece.
Step 2.
Take a sharp sculpting tool and score the inside edge of the paperclay roll and both ends. Add a little water to the scored areas by running your paintbrush over it.This will help it stick together.
Step 3.
Join the paperclay to the cardboard by using a sculpting tool to smooth both sides of the paperclay roll to the top and bottom of the cardboard. Go over it with a dampened paintbrush to stick the clay to the cardboard if it gets too dry. Don't get it too wet or it will take longer to dry.
Step 4.
Finish the design. For this one I used a pointed sculpting tool to draw little textured
swirls into the clay. I went go over it with a dampened paintbrush to soften the texture. Remember
not to over think it or try to get too detailed. All the little bumps and cracks will add to the charm of the finished piece and you're not trying for a machine made look here, it's supposed to look hand made.
Step 5.
Add your hanging tool. Reenforce it with glue. Other options are to glue the hanging wire/yarn/string to the back.
Step 6.
Let the piece thoroughly dry, then gesso the whole thing.
Step 7. (Optional)
Paint an undercoating. I like to use an orangey brown, or light orange. Make sure to get that color into all the deep cracks and divots as it will peep through later. The deeper the undercoating color the darker your piece will appear when it's done. If you want it really light and bright then skip the undercoating entirely.
Step 8.
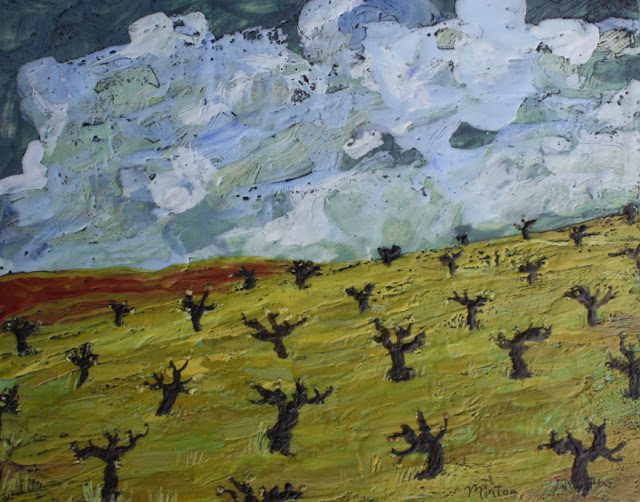
Paint your painting, the best part :) I've done scenes I think will be meaningful for the person I'm giving it to. Another idea would be portraits of your family, favorite pets, places or things, important dates, messages or names...
Step 9.
Paint the frame part with a nice shiny gold or silver. Then you can varnish the whole piece after it dries to make it a bit more indestructible (I'd do that for a magnet, skip it for an ornament).
Step 10.
Sign the back, attach the string, hang and enjoy.
Then go make more because they're so adorable!
Next post is the Great Christmas Giveaway!
It's going to be crazy good!


